
Synology is a well-known NAS provider and what people don’t know is that the company also provides several cloud-based solutions. C2 Backup is one of Synology’s cloud services, aiming for offering an easy and reliable data protection solution for users to back up physical devices and SaaS data directly to Synology C2.
C2 Backup can be used by anyone, not just Synology NAS owners. Synology has provided 2 services for people who want to back up their data: C2 Backup for Individuals is for personal use and C2 Backup for Business is a more robust version. C2 Backup for Individuals can back up Windows devices while C2 Backup for Business can back up both Windows devices and Microsoft 365.
It backs up your OS, data, media, whatever files you have on your computer. It can also restore all your files as well. It’s so easy to use!
Using C2 Backup
Before writing this article, I thought it’d be a tedious process to install and use C2 Backup. That can’t be further from the truth. It just takes a few easy steps to get it up and running! You just need 2 things to start off!
Create a Synology account which is absolutely free. Just go to their website and create one.
Afterward, search for C2 Backup, and click! You will be led to a site that shows you the prices of the service. Currently, there are 2 price tiers, 500GB and 2TB. You can subscribe to a yearly subscription, which will give you a big discount on the service or you can choose to pay monthly.
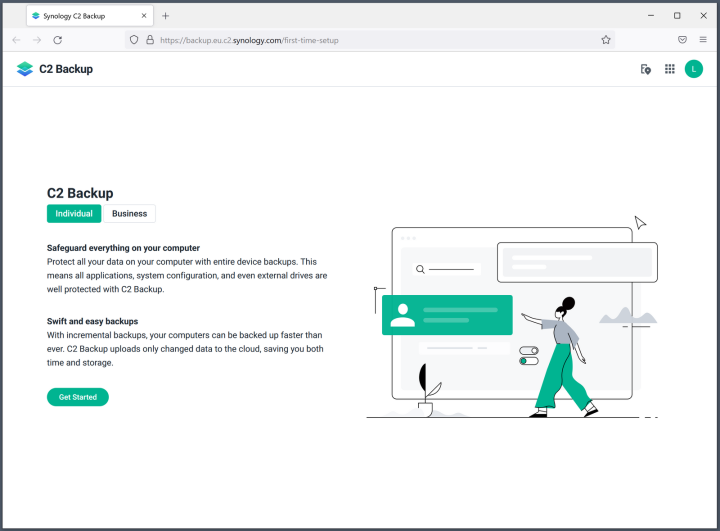

Here’s the great thing though, there’s a 90-day free trial, no cards or payment methods needed. Just sign up here and you will be asked to pay at the end of your trial period. It’s super convenient!
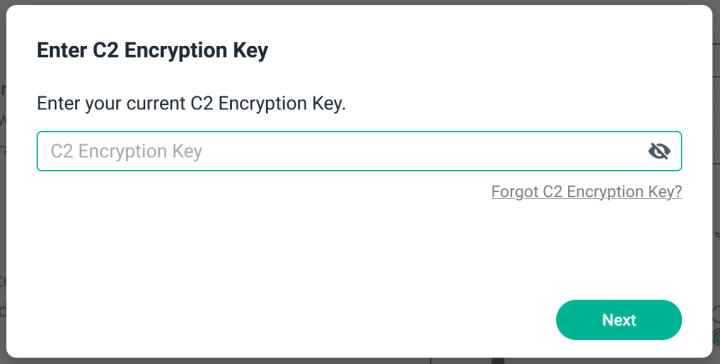
Once you choose a subscription, it will ask you for your C2 Encryption Key that you created when you made an account. Log in and you’re all set.

You’ll then land on the main dashboard of C2 Backup. This is where you set things up in order to back up your data. The next step is to download the desktop client.
Download and install the C2 Backup desktop client and it’ll just set everything up for you. After opening the agent, just click let’s start and it’ll ask you if you want to run a backup, you can do it now or later.


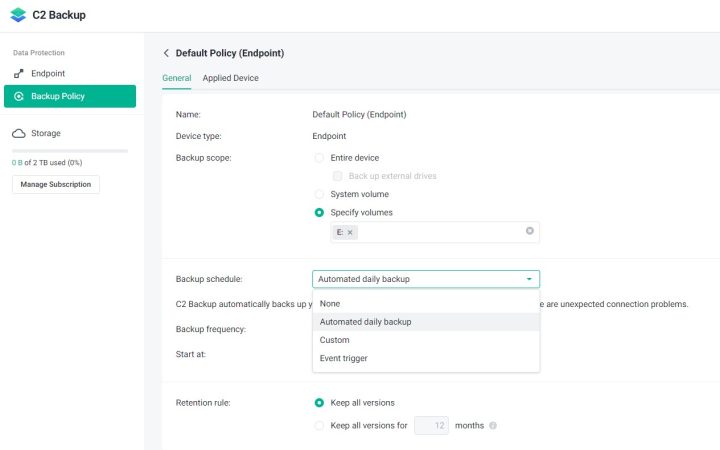
On the website dashboard, you can click on your backup policy to choose what will be backed up on the cloud. In my case, I chose just one of my drives to be backed up by the program.

I can also choose a preferable backup schedule, such as automated daily backup, custom (daily/ weekly/ backup time), event trigger (start backups when the screen is locked, when you sign out, or when the device powers on).
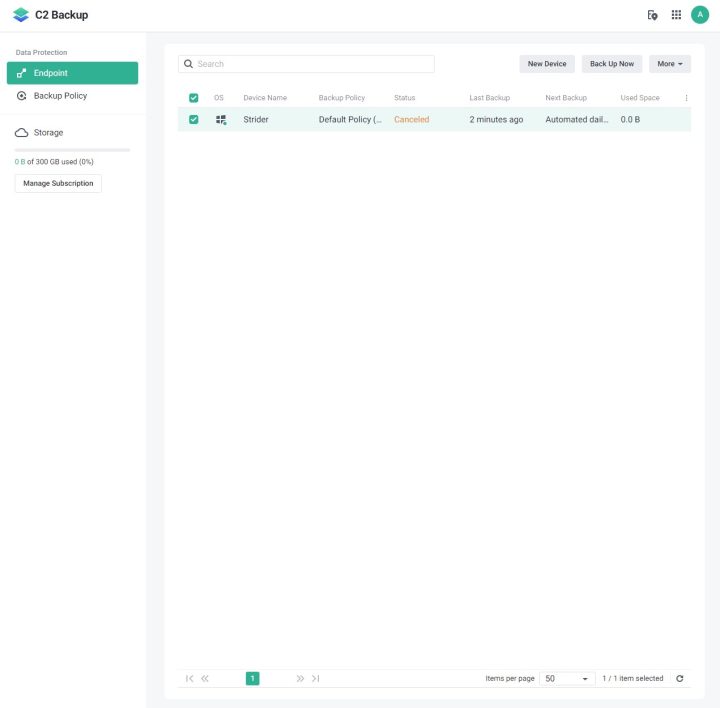
Then I just go back to the Endpoint tab on the dashboard, click on my computer name on the website then click Back Up Now then that’s it! It automatically backs up all my files in the chosen folder.
At the same time, I can also open the agent and see the backup processing.

Now all I have to do is wait until it finishes then all my files are now back up into the cloud! It’s that easy!
Recovery is just a few clicks
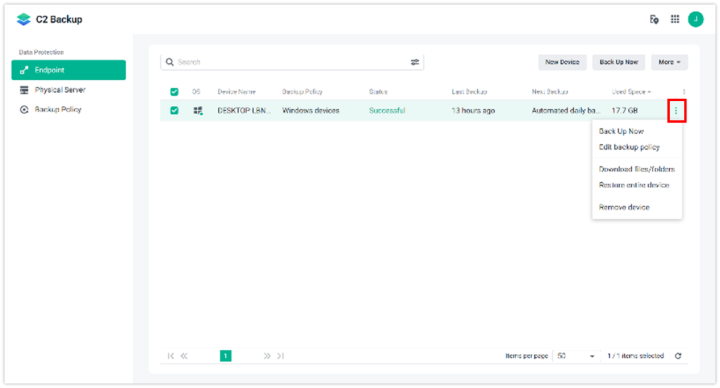
What’s great about C2 Backup is that it’s also super easy as well to recover your files. Once you’ve backed up all your data all you have to do is click the three dots on the right of your device bar, here you can choose whether to restore the entire device or just download files/ folders.
To download specific version of files or folders
Here, I chose to download files/folders, because sometimes we just accidentally click the delete button or overwrite a previous version of a specific file.
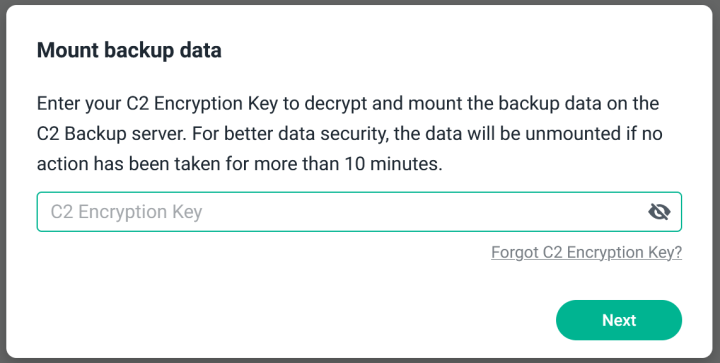
Next, you have to key in the C2 Encryption Key again to access the Recovery Portal.
Upon successful login, Recovery Portal will open and you will have the option to access and restore your data.
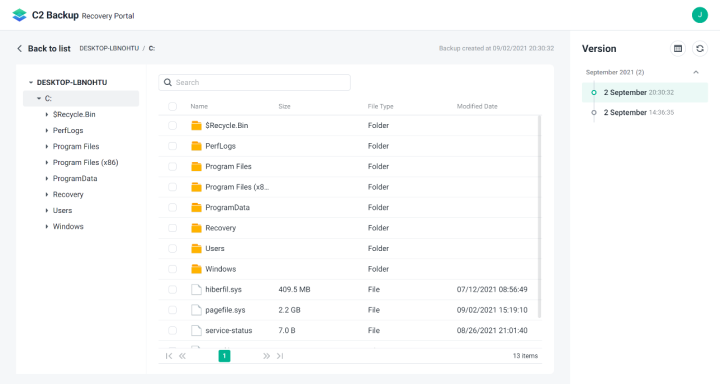
Now you can choose from the files that you exactly want to recover. Once you have done that, all you have to do is click on download in the upper right-hand corner of the screen.

To restore the entire device
Generally, we only need to download files/ folders. But if unfortunately, your laptop crashes, installed a fresh hard drive, or is attacked by ransomware, don’t worry, C2 Backup can bring your PC back to life.
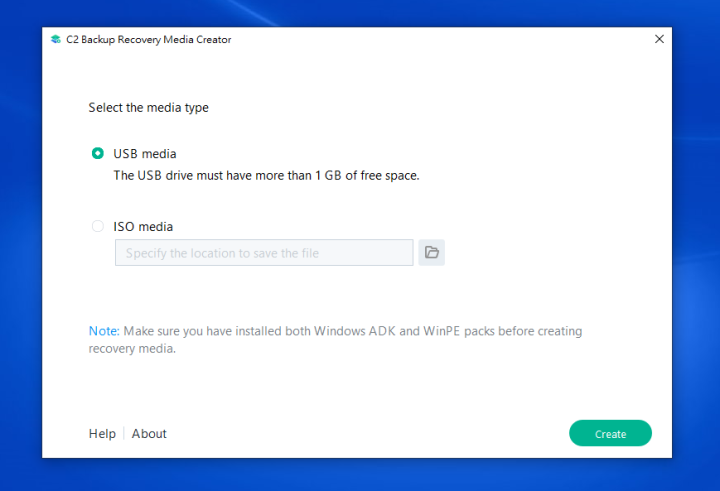
Go back to the dashboard, and have the option to create an entire recovery via bare-metal recovery using the C2 Backup Recovery Media Creator.


Bare-metal recovery means recovering all your files in a completely new drive, with all your settings, drivers, and files. After opening the C2 Backup Recovery Media Creator, you can choose USB or ISO as the destination.
Just follow the steps to install the C2 Backup Recovery Media Creator, and voila you have a backup of that entire drive!
Conclusion
I never thought backing up my files would be so easy. All it took was just a few steps, I feel like I actually made it look long here but it actually takes less than 5 minutes from start to end. C2 Backup works so easily and seamlessly with my computer, it barely uses any resources while it’s doing the backup process. And to top it all off, the prices aren’t so bad! Even if you take the monthly tier it’s such a no-brainer because it protects you and your files from loss and corruption. So I suggest everyone give it a shot as C2 Backup by Synology just makes it easier and hassle-free in keeping your files safe and protected!
Sign up and try a 90-day free trial with no credit card needed!


0 Comments
Leave a Reply