
We’ve spent weeks using the HONOR 600 Series as our daily drivers to get a real feel for MagicOS 10, and it honestly has way more going on than I’d expected at first glance.
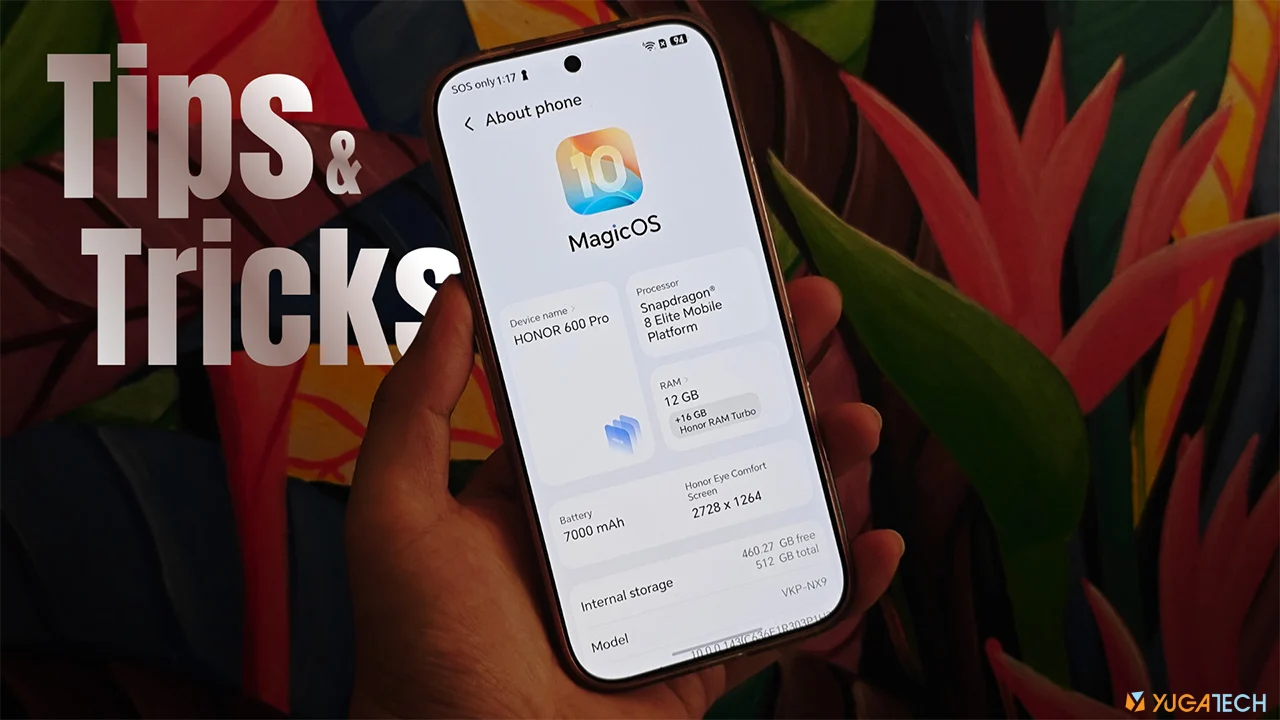
So we dug through it and found eight features that we think you’ll find useful on your HONOR smartphone.
Tip 1: Adjusting audio volume per app
You ever find yourself wanting to play music while gaming, but you want the music sitting at a lower volume than the game itself? Well, guess what? MagicOS got you covered with app volume control.
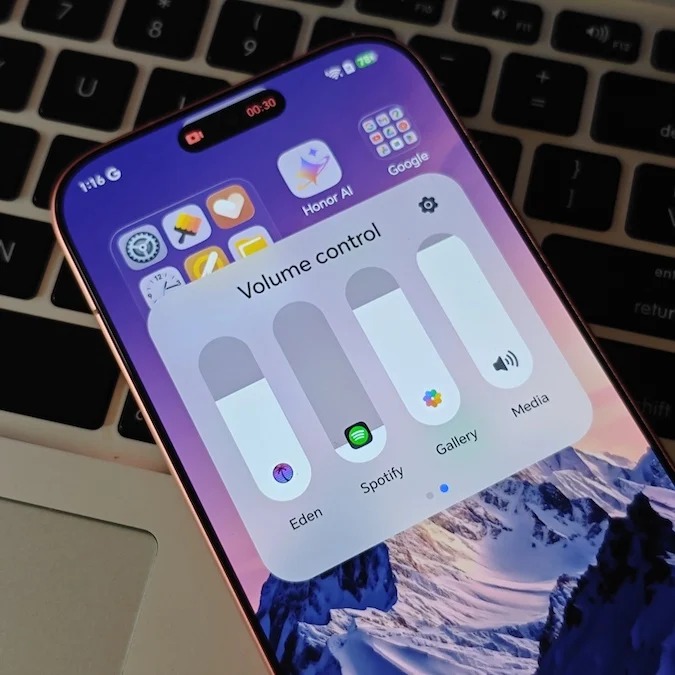
This basically lets you adjust volume levels on a per-app basis, as long as that app is playing media.
Here’s how: go to Settings > scroll down to “Sound & haptics” > scroll down again and you’ll find “More sound settings” > tap on it, and you should see “App volume control.”
Adjusting the volume slider (using the physical button, of course) brings up a three-dot menu, and tapping on it takes you to the actual volume controls, where you can adjust each app individually along with the usual Ring volume, notifications, and such.
One thing to note, though: an app only shows up here while it’s actively playing media. So if nothing’s playing yet, opening this menu shows nothing at all. But the moment you start playing music, say, on Spotify, that app will pop up in the list, ready for you to adjust.
Tip 2: Adjust transparency
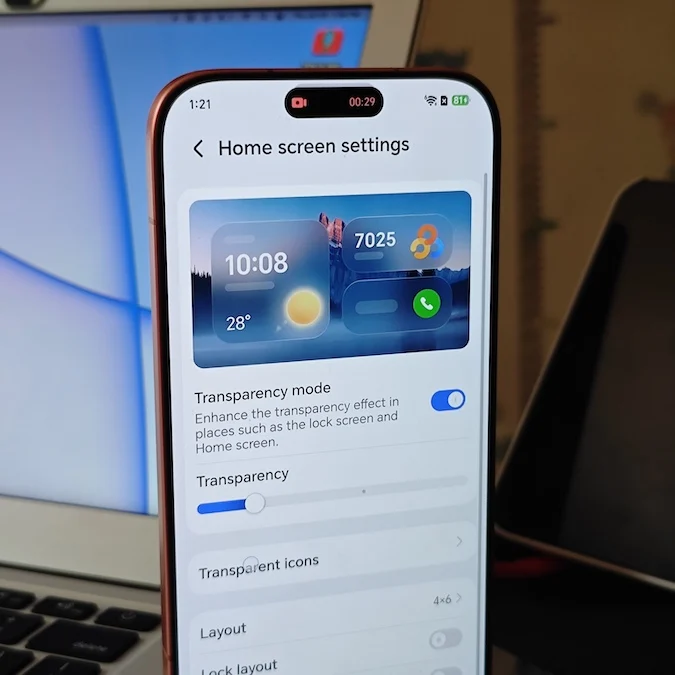
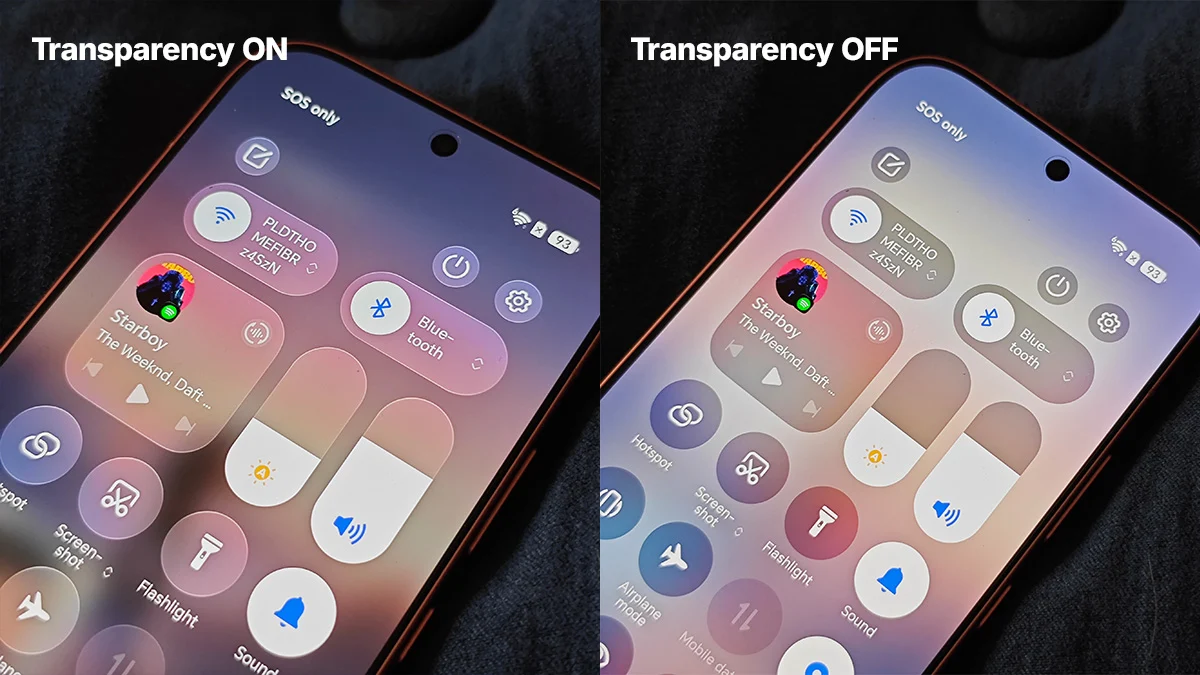
If you’re not a fan of all the liquid glass or frosted glass effects on MagicOS, you actually have the option to tone it down, or turn it off entirely.
On your home screen, do a pinch gesture, then tap on Settings, and you should see the “Transparency mode” feature right away.
Toggling it OFF removes the specular highlights on certain UI elements, and you’ll notice the difference most on the control center and lock screen.
There’s also a slider here that’s pretty self-explanatory. Sliding it to the left leans more into a frosted glass look, while sliding it all the way to the right brings out the transparency effect even more. You get the idea.
Tip 3: Motion Sickness Relief
Now, do you also happen to get motion sickness when riding in a vehicle? Well, HONOR is one of, if not the only, Android brand that’s implemented this genuinely goated feature called “Motion Sickness Relief,” and honestly, it’s a blessing for someone like me who gets dizzy pretty quickly on the road.
You can easily find it in the control center > check for a tile called “Motion Sickness Relief” > then tap on it and the feature launches immediately.
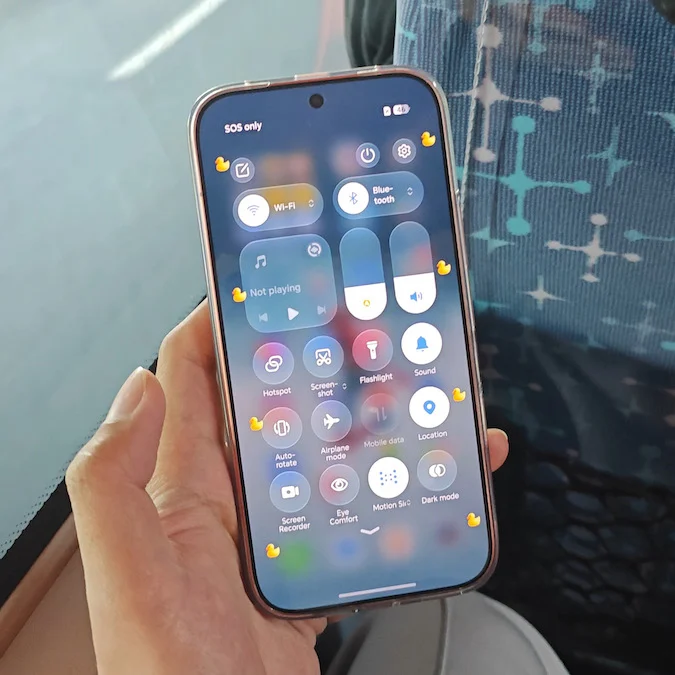
It works by adding little dots, or even shapes, on your screen that move along with the vehicle’s motion, tricking your brain into feeling more grounded.
There’s even some customization here, letting you change the shape. Instead of plain circles, you can switch it up to, say, silly ducks floating around your screen.
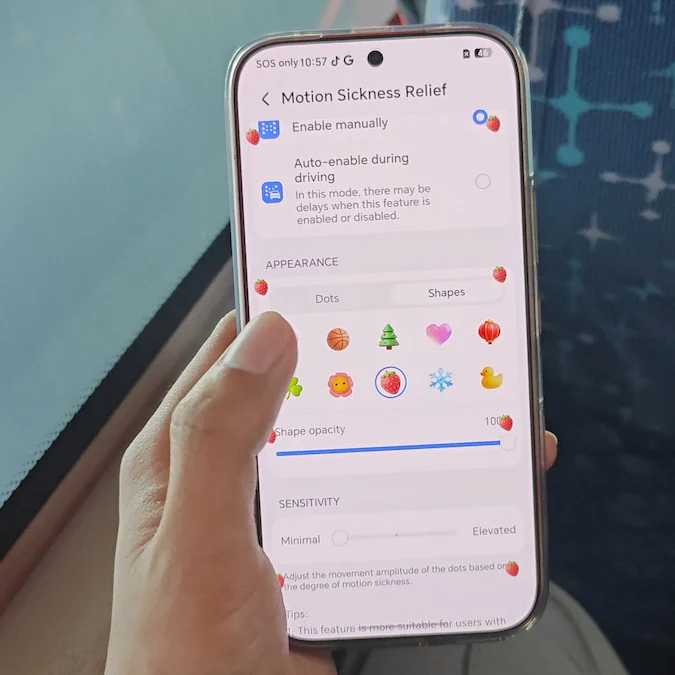
And if that’s not enough, you can set it to automatically enable whenever the phone senses you’re in transit or driving.
Tip 4: Stacked Recent apps page
Next, we have the “stacked Recent apps” page.
For some context, this originally comes from iOS, and pretty much every Chinese OEM has adopted the same layout at this point, because why not?
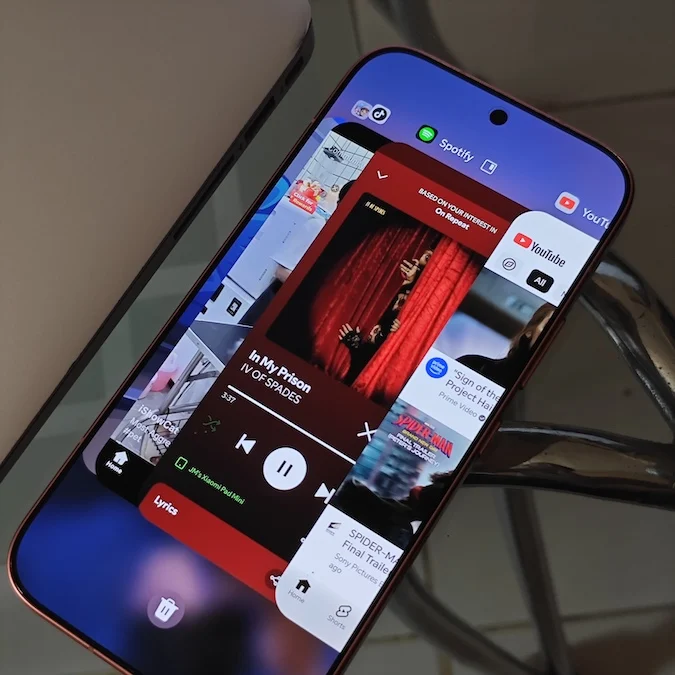
To enable it, go to Settings > find “Home screen style” > scroll down until you see “Recent task style,” then select Stack.
And there you go, your apps now show up in this iOS-like layout, which honestly looks pretty nice, in my opinion.
Tip 5: Stacked widgets
Another Apple-inspired feature here is stacked widgets, which lets you cycle through multiple widgets in a single spot on your home screen.
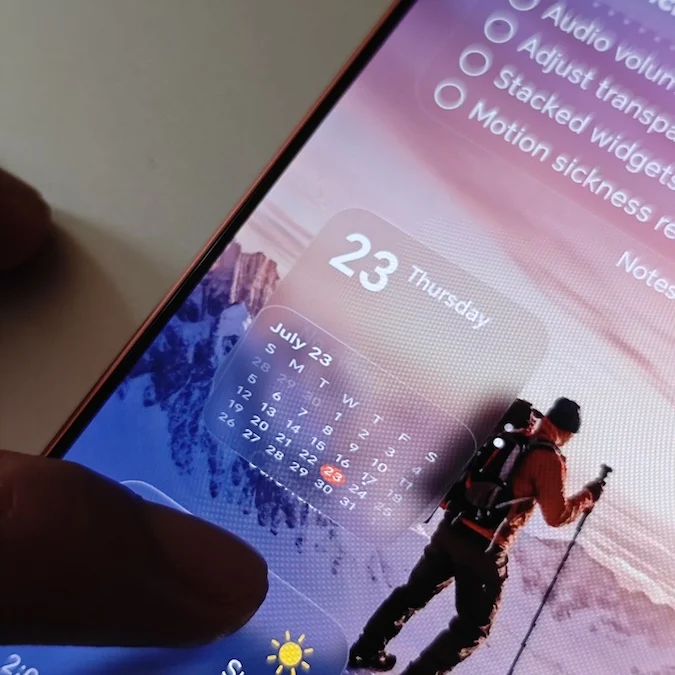
To set it up, pinch on the Home screen > tap “Cards” > choose any widget you want to place > then add another widget of the same size and lay it directly on top of the first one.
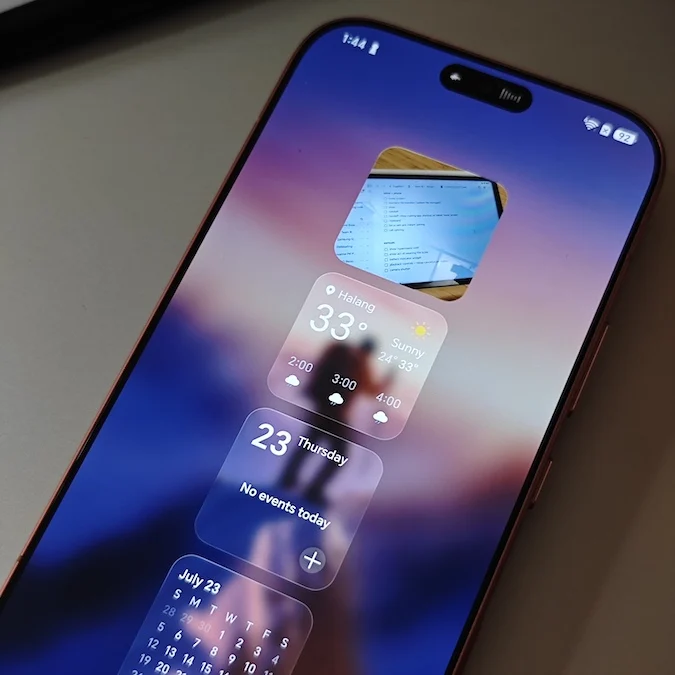
There’s a little tutorial that pops up if it’s your first time doing this, but it’s pretty easy to figure out. To see all the stacked widgets, do a long swipe up or down on the widget itself. And if you want to remove one from the stack, just swipe it to the left.
Tip 6: Lock screen widgets
Continuing with widgets, did you know you can now add some to your lock screen, too?
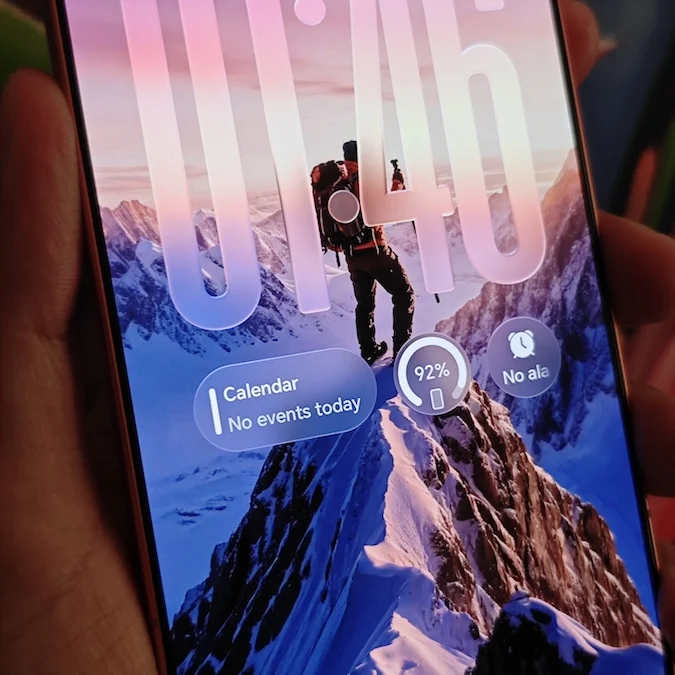
Just go to Settings > tap “Home screen & style” > tap “Customize” on the lock screen > and you should see an “Add widget” option right underneath the clock.
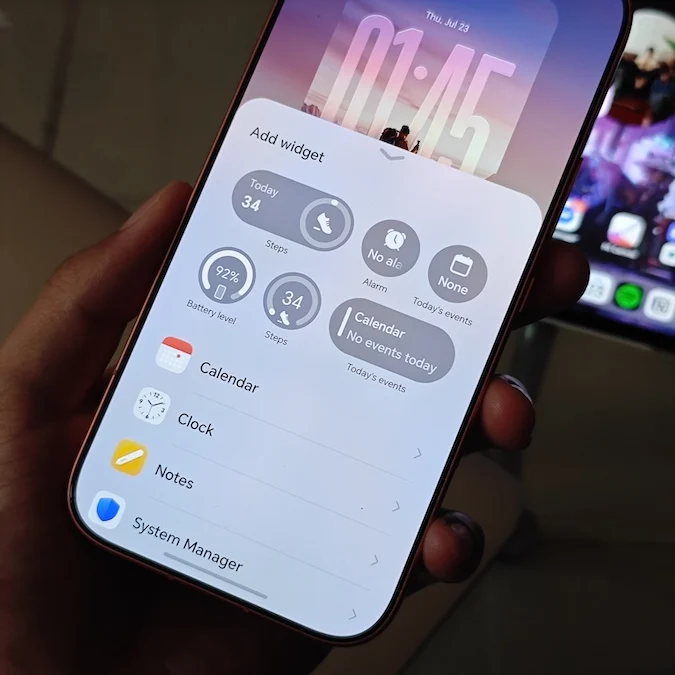
Tap on it, and from here, you can add lock screen widgets like a Step Counter, Calendar, and even quick access to Notes, among others.
You can either go with two bigger tiles, four smaller ones, or a mix of both.
Tip 7: Wallpaper depth effect
While we’re here at the lock screen, let me walk you through the wallpaper depth effect. This isn’t new, but it looks pretty clean with wallpapers that have a standout subject, and HONOR nails the customization here.
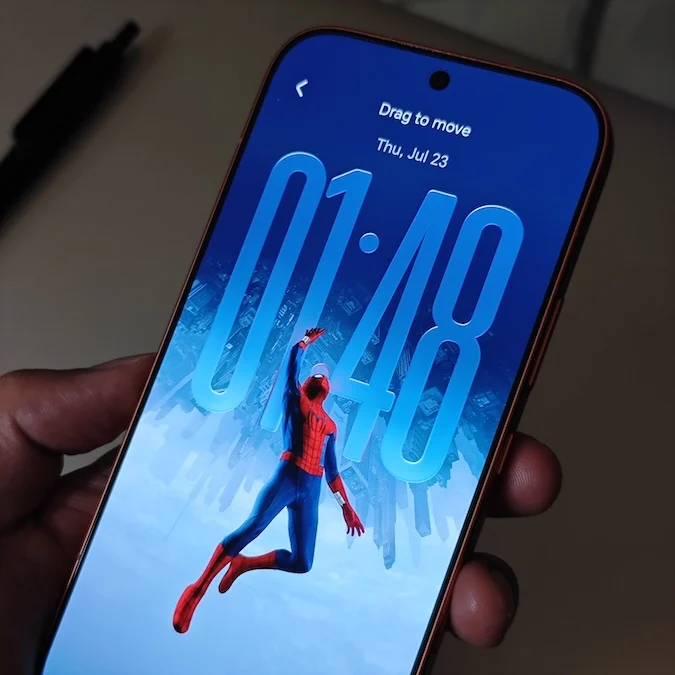
On that same lock screen settings page, tap “Lock screen style” > tap “Select photo,” then choose a fitting wallpaper. In our case, we went with this Spider-Man wallpaper. One downside, though: you’ll need to remove any widgets first before the depth effect actually works.
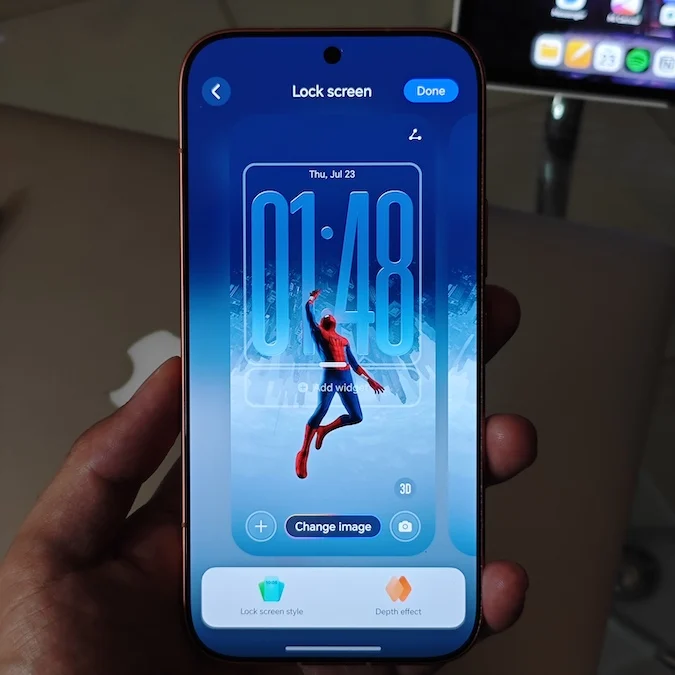
From there, adjust the wallpaper to your liking. It usually needs to sit toward the bottom part of the clock for the depth effect to kick in properly, and it’ll even auto-expand the image for easier positioning. Once you’re happy with it, tap “Done” on the upper right corner, and voila!
Your wallpaper’s now a bit more elevated.
It’s not perfect, though, since you can still catch some parts of the subject clipping through the clock. But hey, it still looks great at first glance.
Tip 8: One-handed mode
Last but not the least, we’ve got One-handed mode, which is great for anyone with smaller hands, or honestly, anyone just trying to text with one hand while doing something else.
The HONOR 600 Pro isn’t exactly huge, but One-handed mode still comes in handy for reaching those far corners of the screen.
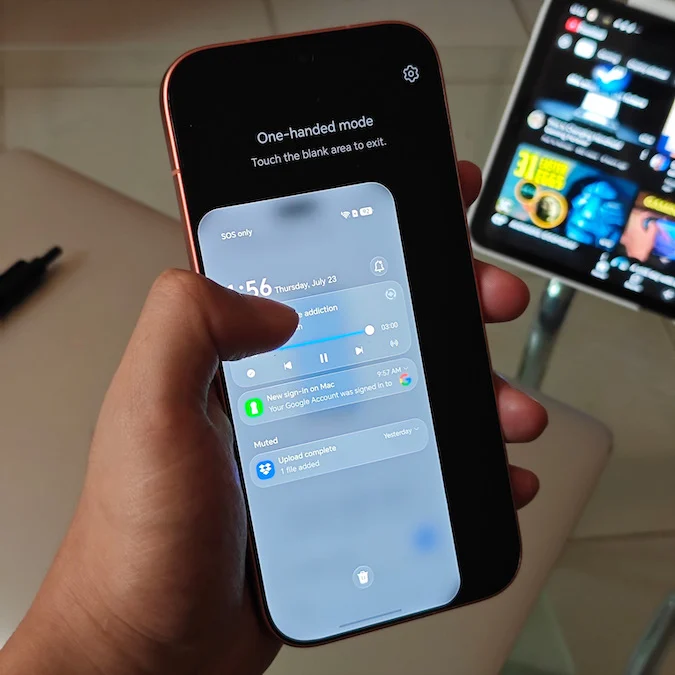
Go to Settings > find “Accessibility features” > select “One-handed mode,” then toggle it ON.
There’s already a tutorial here, and all you need to do is swipe left or right and hold from the bottom part of the screen. This shrinks the display down to about two-thirds its size, making it a lot easier to use with just one hand.
I’d actually say this is a better implementation than iOS’s version. On iPhones, swiping down from the bottom just drops and crops the screen temporarily, so you can only reach the top for a moment before it snaps back to full screen.
MagicOS, on the other hand, keeps the screen shrunk down for as long as you need it, until you decide to go full-size again by simply tapping on the blacked-out area.
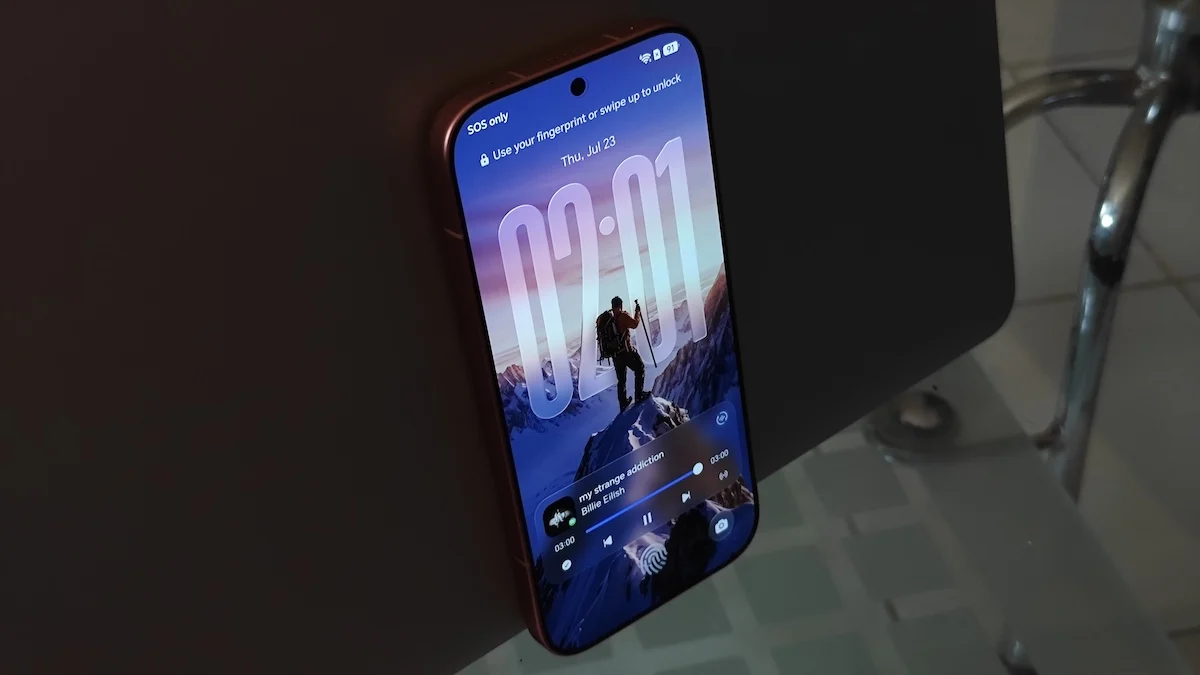
And that wraps up this guide!
Got any hidden gems of your own that we didn’t cover? Let us know in the comments below!





0 Comments
Leave a Reply