
Entering into the world of crypto can be quite daunting, most especially in the world of NFTs. With its growth in popularity at a rapid pace, you may be left feeling intimidated on how to even purchase one. Nowadays, most NFTs are on the Ethereum network, with the majority being traded on Opensea.io.
In this guide, we’ll go through the process of buying for your first Ethereum NFT in Opensea, step by step.
Step 1: Create an account on an Exchange
The first step into buying your first NFT would of course be to get some crypto to buy your NFT. This is the first step in entering the world of crypto and NFTs. Exchanges are just places to buy cryptocurrency for later use. The most commonly used exchange in the Philippines is Binance. This step may be a whole guide in of itself, but to get a full, comprehensive guide on how to set up, use, and purchase on Binance, you may visit Binance Academy’s – Binance Beginner’s Guide here.
Step 2: Buy some Ethereum
You will commonly need Ethereum when entering the world of NFTs as today it is currently the most common currency with the majority of NFTs are commonly built on the Ethereum blockchain. However, there are also many other alternatives such as Solana, Cardano, and Polygon. As in this guide we’ll be purchasing from the opensea.io, we’ll be focusing on using Ethereum.
The simplest way to get ETH is to buy it on the exchange. In Binance, you would want to head on over to your Spot Account and look for the ETH/USDT pair most commonly.
Step 3: Set up your Crypto Wallet
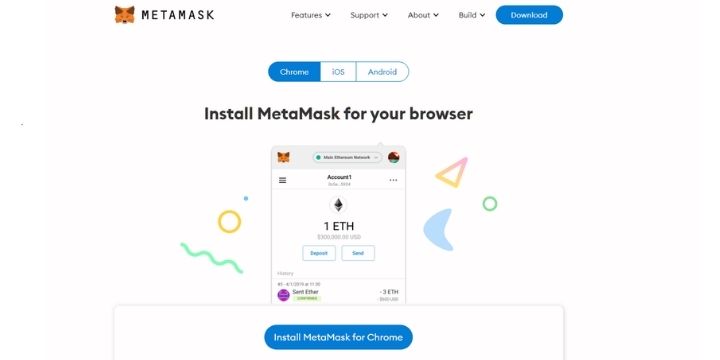
By far, the most commonly used crypto wallet nowadays is Metamask. You will need to download its chrome extension through Metamask.io.
- Click on Install MetaMask for Chrome to start the installation.
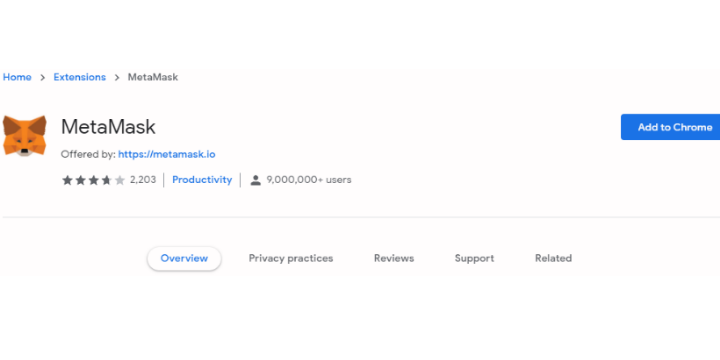
- Add Metamask to your Chrome Extensions
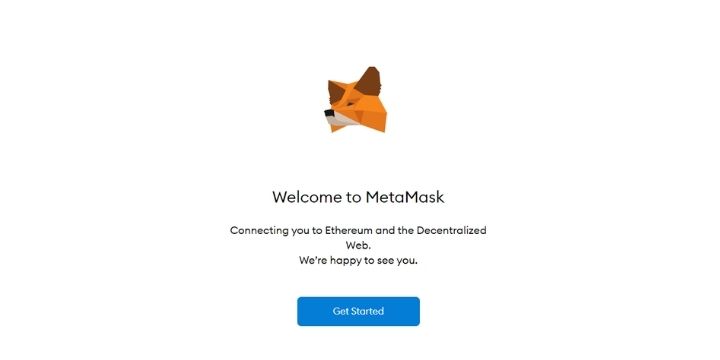
- Click on Get Started
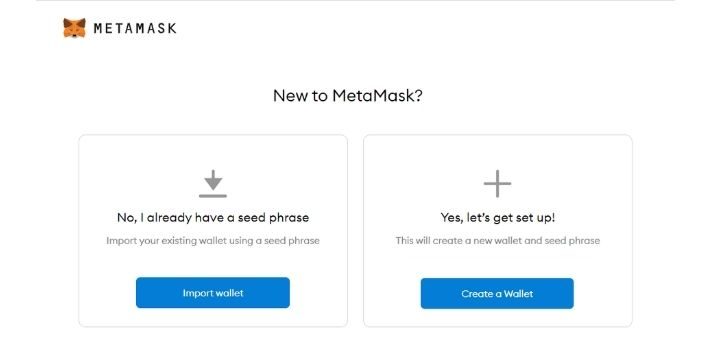
- Click on Create a Wallet
- You may click the I Agree button to allow data to be collected to help improve MetaMask or else click the No Thanks button. The wallet can still be created even if the user will click on the No Thanks button.

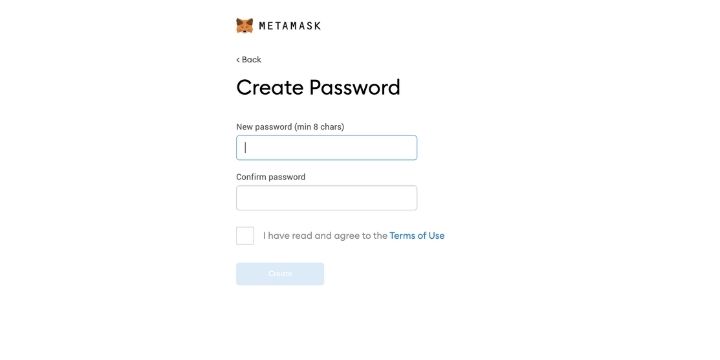
- Create a password for your wallet.
- This password is needed every time the browser is launched and would want access to use MetaMask.
- Note: If chrome is uninstalled or if there is a switch in browsers, a new password needs to be created. In this case, go through the Import Wallet button. This is because MetaMask stores the keys in the browser.
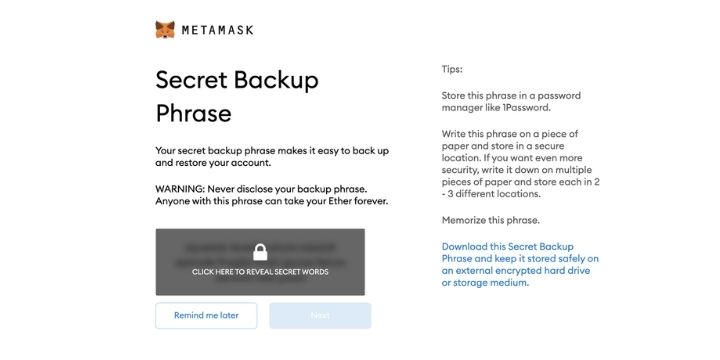
- Click on the covered, dark area which says Click here to reveal secret words to get your secret phrase.
- This is truly the most important step and the most sensitive part in setting up your wallet.
- A secret backup phrase is a 12-word unique phrase, and is the only way you can access your wallet if ever you forget your password. If lost, you won’t be able to access your wallet in case your computer is lost, stolen, or if data gets corrupted.
- Back up your secret phrase properly. Do not store your secret phrase on your computer. It is always best to make sure you have your secret backup phrase kept safe and with multiple copies. Write it in multiple places that only you can access and make sure you do not lose your secret phrase.
- You should never disclose your backup phase, so make sure you do not share it with anyone.
- Once done click the Next button.
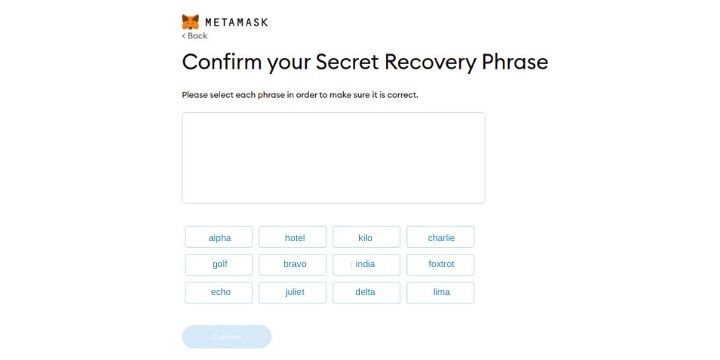
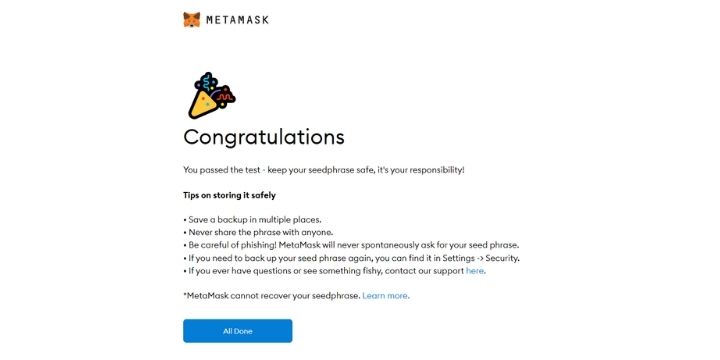
- Click the buttons respective to the order of the words in your seed phrase. In other words, type the seed phrase using the button on the screen. If done correctly the Confirm button should turn blue.
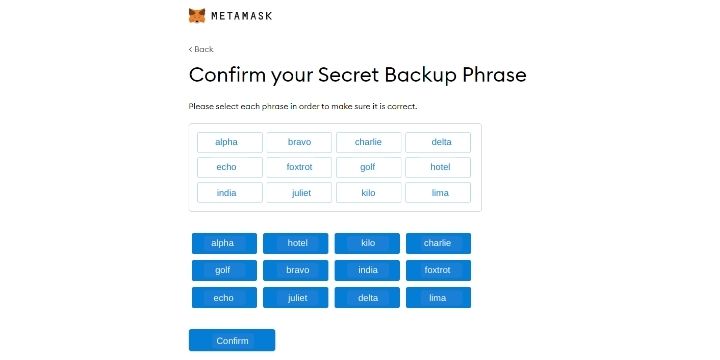
- Just hit All Done and you got yourself a Metamask account! Congratulations!
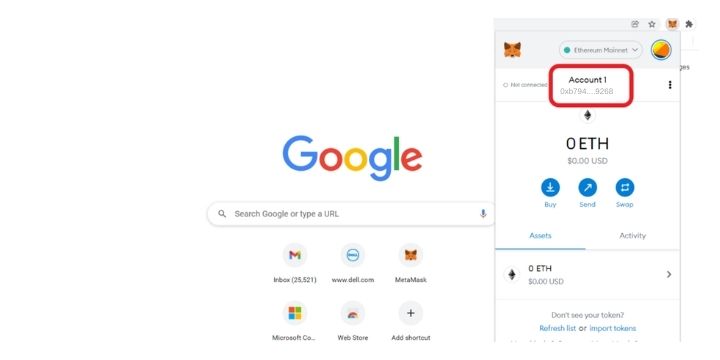
- Now that you got an account, you may check the balance and copy the address of the account by clicking on the Account 1 area

Step 4: Transfer Ethereum to your Metamask
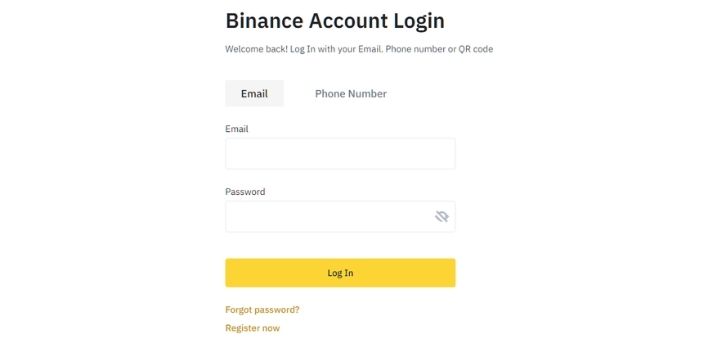
- Log in to your Binance Account
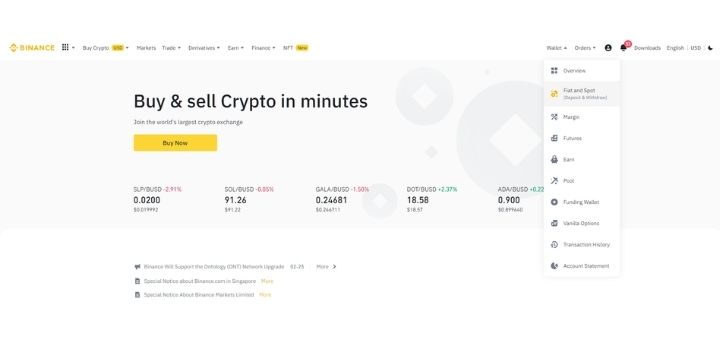
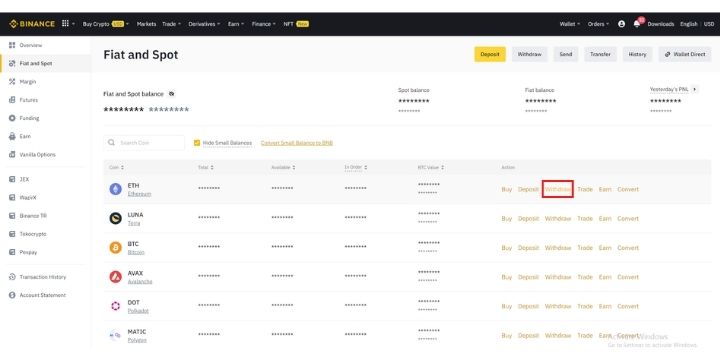
- Go to your Fiat and Spot Wallet
- Click on Withdraw next to ETH
- Send your Ethereum to MetaMask
- Copy your ETH Address from your MetaMask Account
- In your MetaMask wallet, be sure that the “Ethereum Mainnet” network is selected.
- Click the duplicate icon to copy your ETH address
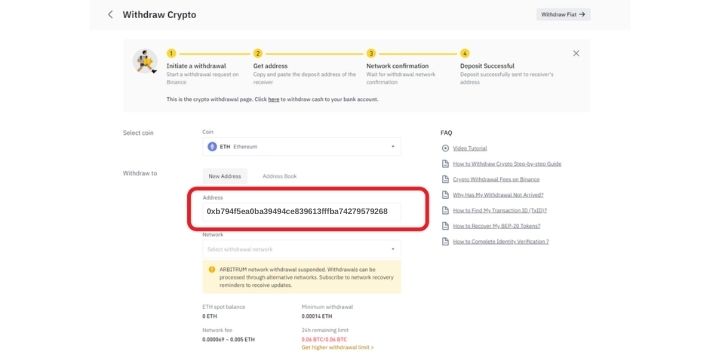
- Select the “ERC20” network from the “Network” dropdown box.
- Enter the amount of ETH that you want to send in the “Amount” Field.
- Click on “Withdraw” to send your Ethereum from Binance to MetaMask

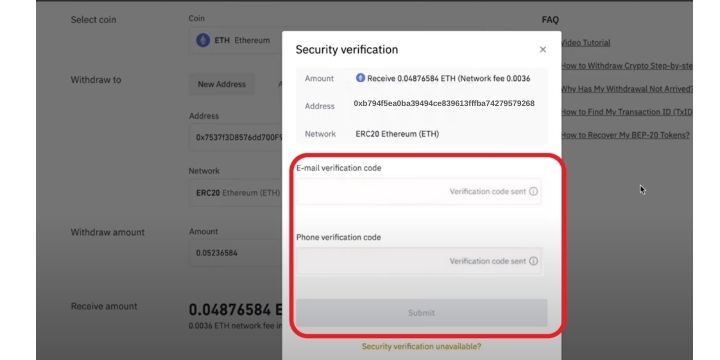
- Enter the verification codes sent
- Binance will send verification codes to your e-mail and phone.
- Type the verification codes received from your e-mail and phone in their respective fields and click Submit.
- After submitting the verification codes, a notification on withdrawal request being submitted will appear.
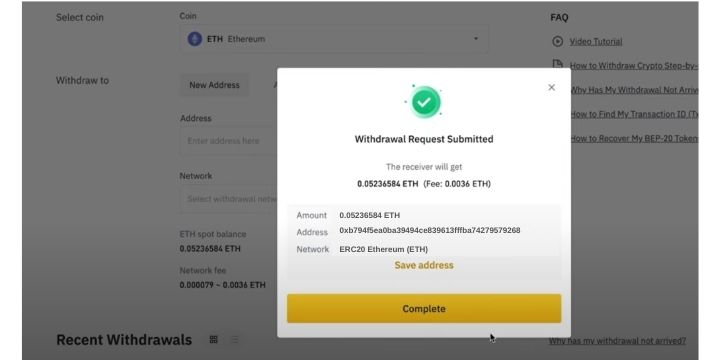
- Usually, your cryptocurrency will be transferred within 10 minutes. However, the withdrawal process may take about 30 to 60 minutes to complete depending on the network traffic and there is network congestion, it might take longer than 60 minutes for it to complete.Check the recent withdrawal section or transaction history

- Check your MetaMask wallet
- Copy your ETH Address from your MetaMask Account
-
-
- Once your transaction has the Completed status, head back to your MetaMask wallet extension and see your wallet balance on the front preview itself.
-
Note: Transferring from Binance to MetaMask:
- Make sure that you’ve selected the “ERC20” network and not another network. Otherwise, your funds will be lost and Binance will not be able to recover it for you.
- Keep in mind that the minimum ETH withdrawal amount for the ERC20 network is 0.007.
- In addition, if there is an ongoing system upgrade on Binance, you won’t be able to make withdrawals. Withdrawals will be suspended until the system upgrade is complete. You can follow the @BinanceHelpDesk profile on Twitter for announcements.
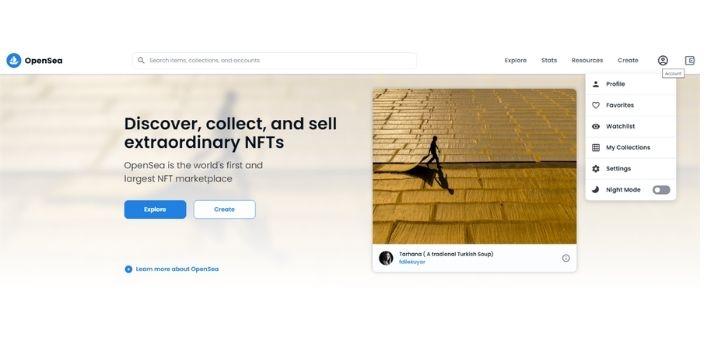
Step 5: Set up Your Opensea Account
NFT marketplaces, such as Opensea are platforms where NFTs and NFT collections can be stored, displayed and traded. These marketplaces are to NFTs what Lazada and Shopee are to products.
Head to the OpenSea website and create your account by clicking on Profile
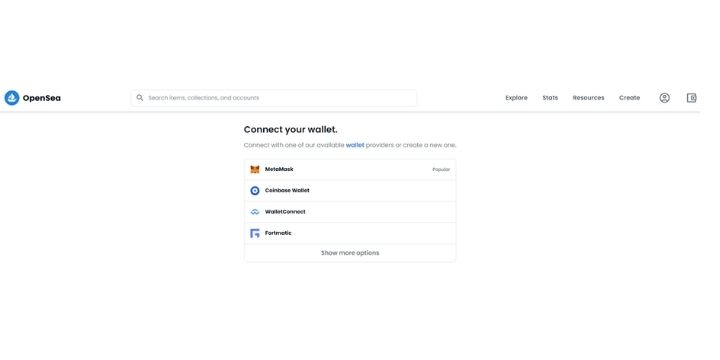
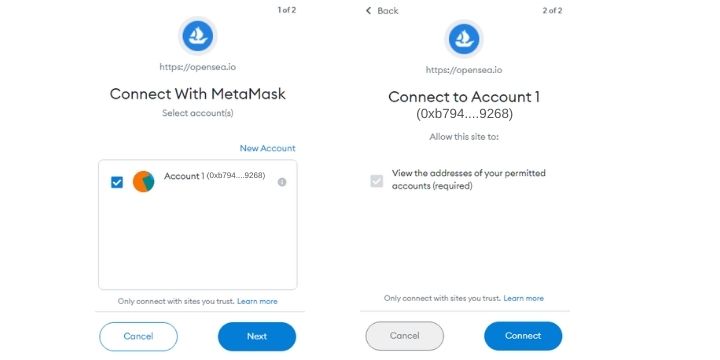
You will need to connect your MetaMask Wallet to OpenSea
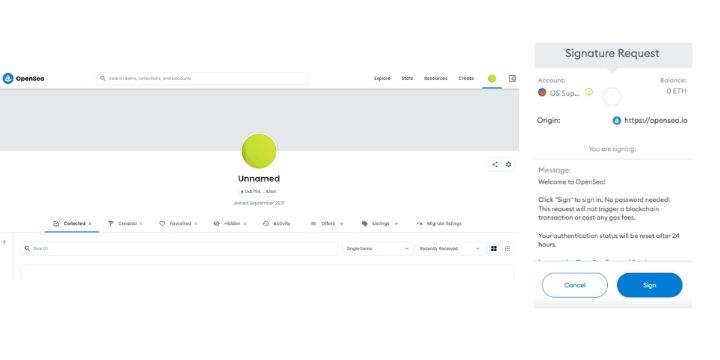
Your account on default will be named “Unnamed” and showing only your wallet address below. To personalize your account, select the settings gear icon on the right. You will then receive an extra security prompt from Metamask, select “Sign” and you can begin updating and personalizing your profile.
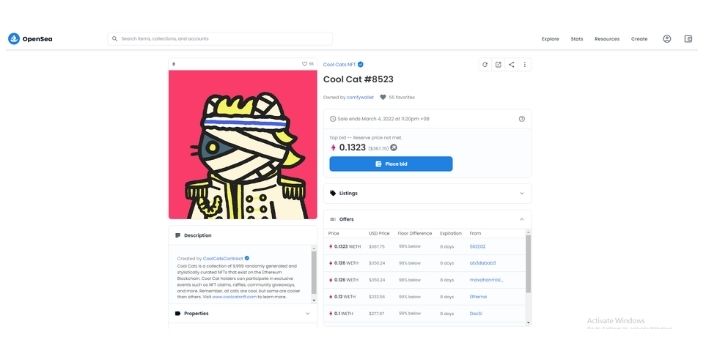
Step 6: Buying Your First NFT
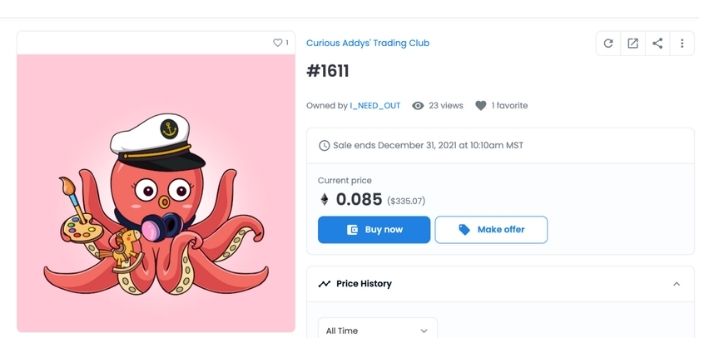
Now that your Metamask wallet is ready with some Ethereum, it’s time to buy your first NFT! Spends some time which collection you’re looking to purchase on OpenSea and look for the right one for you. Each collection’s price varies widely. The ‘floor’ is the lowest price one NFT in a specified collection is listed at. After you decide on which NFT to buy, you will have three options on OpenSea: buy now, make offer, and place bid.
Buy Now
- NFTs in opensea may be listed by owners at a price they choose or their current price. This option allows you to buy the specific NFT by paying the asking price.
- Click on Buy Now
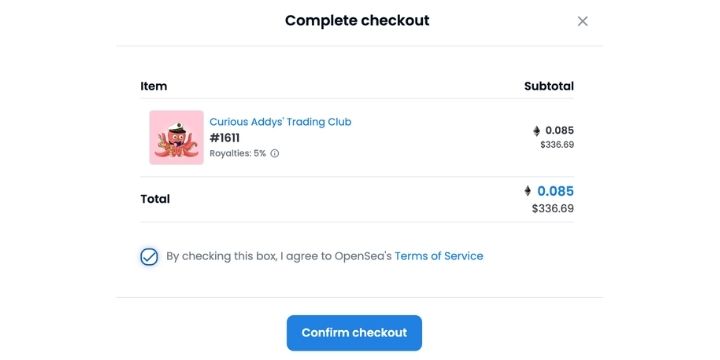
- Review the Total and click Checkout
- Confirm in Metamask
- Metamask pops up and shows you the confirmation screen you saw earlier while checking gas prices. The easiest way to complete this transaction is just clicking “confirm”. That’s it, you’re done!
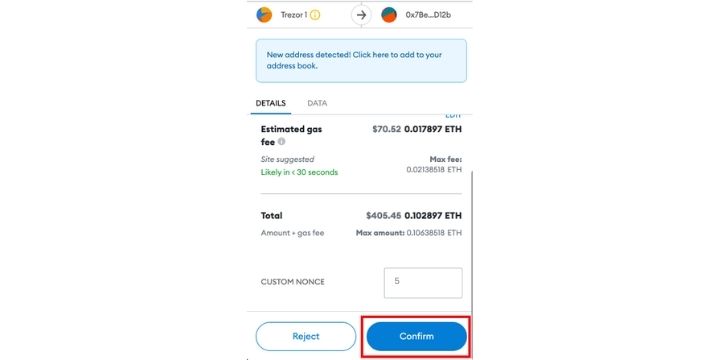
Note: Gas Fees
- If you want to buy an NFT at a fixed price, you’ll need to pay gas fees. These are simply transaction fees under the Ethereum blockchain that are anything but fixed. As the price of gas fees frequently fluctuates, which can be confusing to newcomers.
- You can check the state of gas fees here on Etherscan.io. It is worth noting that an NFT transaction would incur gas fees similar to an ”ERC20 Transfer”, so you may use that as a guide. What’s great though is that MetaMask will suggest an amount depending on the network conditions at the time, so won’t have to calculate yourself.
Make Offer
- If you prefer to haggle and get a lower price, you can make an offer for the seller and see if they accept it or not. One side note, if the seller does in fact accept your offer, then the seller pays the gas fees.
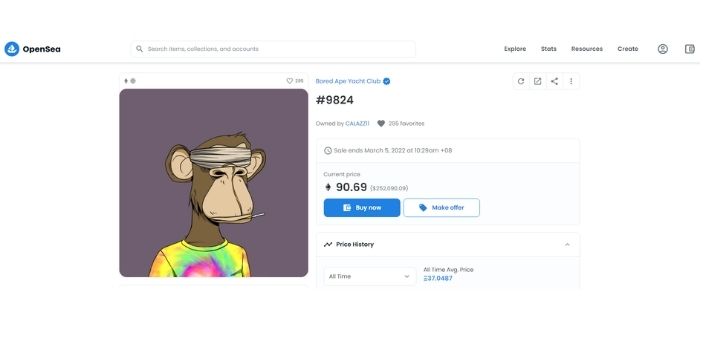
- On the other hand, some NFT owners may decide to not list their NFTs for sale or for auction. However, that doesn’t mean you can’t try and make an offer and convince them to sell. These NFTs will only have a “make offer” option available.

Place Bid
- Some sellers would prefer to put their NFTs up for auction instead of selling them at a fixed price. In this case, you may be to place a bid at a price that you believe is justified.
- Do note that your bid must be at least 5% higher than the previous bid. At the end of the auction, the highest bidder wins the auction and if they had met the minimum bid requirement.
If you’ve made it all the way through these steps, then congratulations on acquiring your first ever NFT! You may click on your profile and you’ll see the NFT purchases you made listed there. It is worth noting that you may be able to hide NFTs on your profile but you can’t hide them from your Ethereum public address since crypto is extremely transparent.
Likewise, it is worth knowing how much you’ll be spending ahead of time. Spend a good amount of time studying which NFTs you’re really interested in while tracking the amount of gas fees you spend, since forgetting to do so can lead to unknowingly spending more money.

3 Comments
Leave a Reply